5 Traps in the Queen’s Gambit Accepted
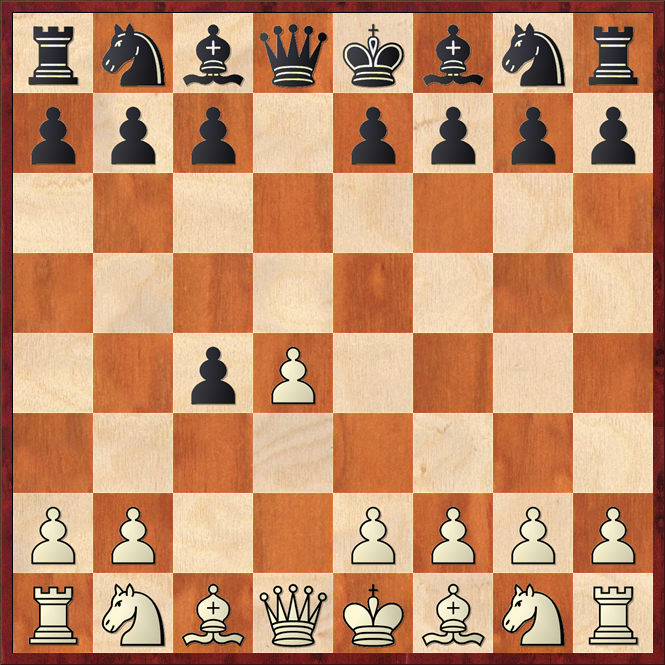
The Queen’s Gambit Accepted is probably less preferred over the Queen’s Gambit Declined in queen’s pawn games because of a few principles that govern the opening like tempo, the center, structure, and development. But out of all these concepts, I think the primary reason would be tempo.
From the moment that Black takes the gambit pawn, he has already surrendered the center and he has created a vulnerable target for attacks, around which White will focus his attacks.
Maintaining the tension between the two pawns is considered the better approach because it allows Black to have flexibility with his pieces and have more options as to what kind of plan he should take. Moreover, it will allow him to fight for the center.
Nevertheless, that doesn’t necessarily mean that the Queen’s Gambit Accepted is a bad opening especially if Black knows how to navigate through the supposed disadvantages of accepting the gambit.
In contrast to this, the King’s Gambit Accepted is more popular perhaps due to the fact that it is structurally different. The pawns in question are on the kingside and by pushing two pawns in front of the White king so early in the game, accepting the gambit seems more attractive to Black than declining it.
However, for the purposes of this article, we will leave the discussion on the King’s Gambit here. I just thought it would be a nice comparison to have in order to show that when the attention or focus of the action shifts to a different side of the board, these gambit moves become more favorable to one side. There are pros and cons to each opening and it all depends on the player’s preference and preparation.
Going back to the topic of discussion, we will now look at a few games which show the dangers of being too reckless in the Queen’s Gambit Accepted line. Since it is a gambit line, chances are whoever accepts the offer would instinctively try to hold on to the extra pawn however, it is advised to simply give back the pawn and instead continue with the development of pieces and king safety.
Greco – NN, 1620
I believe I have shown this illustration in another article on this blog. But this shows why Black shouldn’t try to be greedy and keep his extra pawn. The following sequence of moves appears natural at first, trying to defend the pawn yet this weakens certain squares and makes the diagonal vulnerable.
It is important to note that White would usually play e4 in order to get a big center however, e3 allows the tactic shown in this game to occur. After all the exchange in pawns, we see that the a8-h1 diagonal is wide open toward Black’s rook. This is why e3 was played so that White can take advantage of the diagonal with Qf3. Now, whatever Black does, he will lose a piece.
Twigg – Gray, 1947
Black gave back the pawn in order to develop his knight right after taking the gambit pawn. However, he was a bit impatient and immediately attacked White’s bishop. Now, here we see again the concept of mounting an attack on the f7 square.
White uses his queen to gain tempo by giving a check but he also used it as a decay of some sort, diverting Black’s attention from the attack. When Black took the bait, he had already dug his own grave because he failed to realize that White was threatening checkmate with only two of his pieces.
This is the importance of simply developing and preparing before launching any sort of attack. Also, we should be aware of all the threats and not just take everything that is offered to us.
Farago – Bliumberg, Budapest, 1994
It’s Black’s turn to pull some tricks over White. This may have simply been due to White’s neglect and impatience but there are more ways to recover the pawn than simply taking out its defenders. White simply rushed in with his knight without checking to see if there were any tactics. In this case, there was a tactic.
Perhaps, White could have prepared before jumping with his knight. There are so many other better moves in this position but at least we learn from this game that we should never bring our pieces into the enemy camp without making sure that it would have a solid place to land.
Wall – Gantt, Hickory, 1978
Again, we have the attack on the f7 square where we see a piece being sacrificed to launch a deadly sequence. In this case, Black made a mistake when he played Nbd7 as that helmed the queen in, not allowing it any escape. Otherwise, he would have been fine in this position.
Sarratt – NN, London, 1818
This may be the era of romanticism but chess theory hasn’t evolved to such an extent as it has today so most players were simply exploring the different lines and variations in chess.
In this case, Black had the wrong idea when it came to defending the pawn. He tried to support it with his bishop but that only left a lot of holes in the light squares. White was able to take advantage of that. He gained enough tempo and sacrificed his pieces in order to take more than what he bargained for. White just had more active pieces and the positional advantage over his opponent and he won.


Comments
Post a Comment